How to add pockets to pants
1. First you need to find a piece of cloth (I couldn’t find any rag around so I had to sacrifice my square scalf  ), should be the kind of fabric that used to make a shirt, not the cotton T-shirt type. Then you draw the shape of the pocket on the cloth.
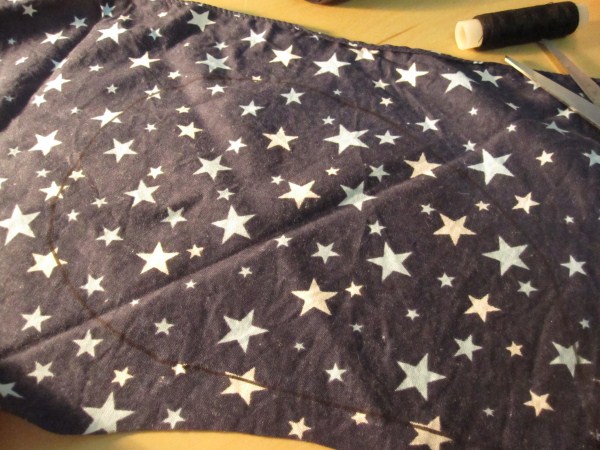
The shape is very important too, it decides whether the pocket is visible when you wear the pants. After doing it I realise that my pockets are a little bit too straight, if you can make something like this it would be better: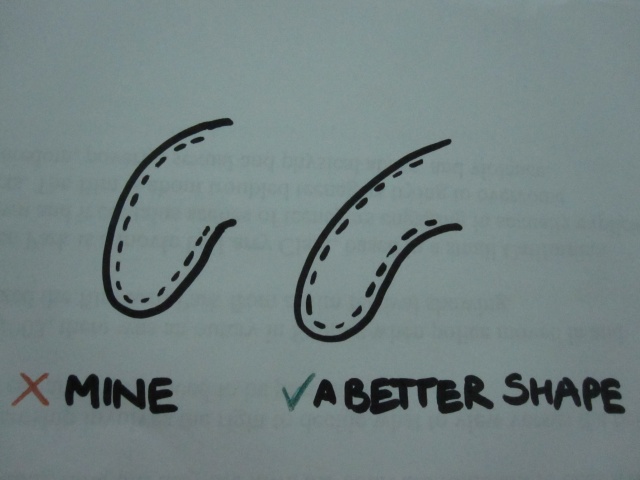
2. Cut along the line you’ve made, remember you need space for the sewing line, so make sure what you cut is a little bigger than what you want your pocket will be. 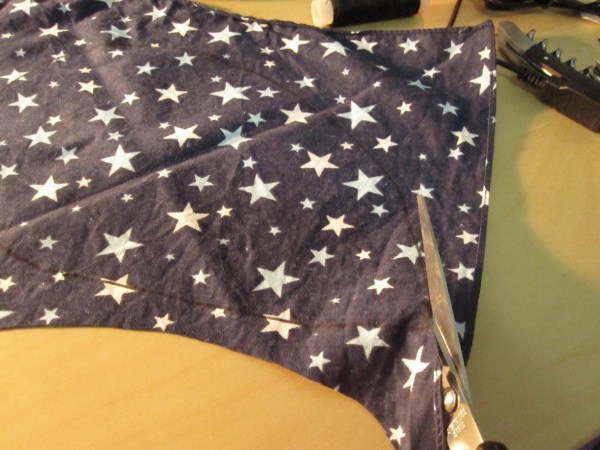
3. Use what you’ve cut and a marker to make another identical shape, and cut it.
Mine was a little wrinkle, so I uses a iron to straighten it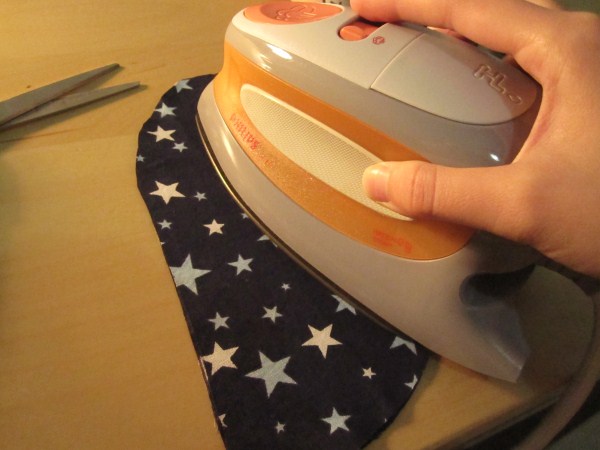
4. You need to sew the two pieces together, make sure that you leave a little space near the opening of the pocket so that you can sew it to your pants. After sewing, the seam should look like this (or better):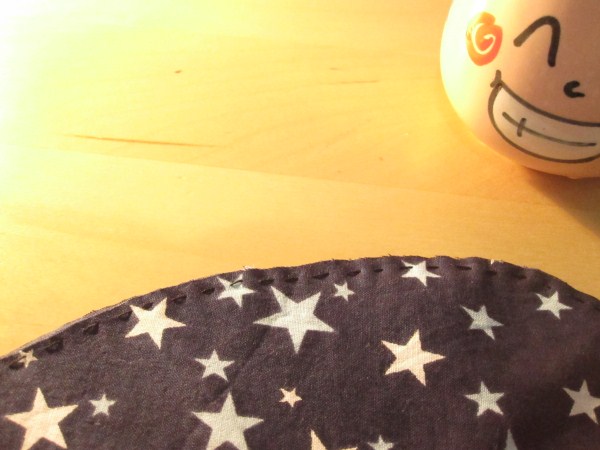
But I wanted to secure it a little more (in case I put something heavy in it), so I sewed over the seam for another round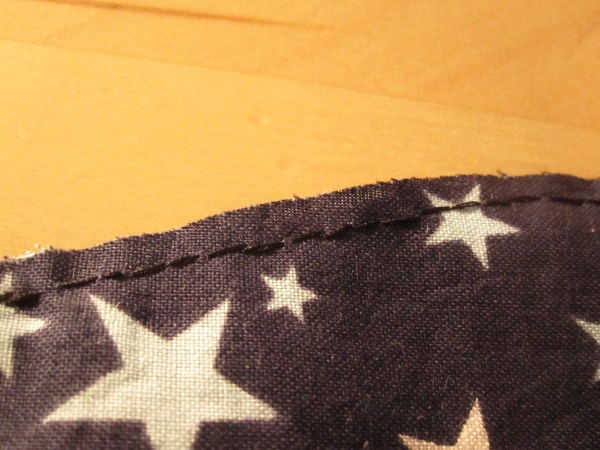
5. Then you need to finish the raw edge of the pocket to keep it from fraying, here I used whip stitches.
6. Take out the pants and turn them inside out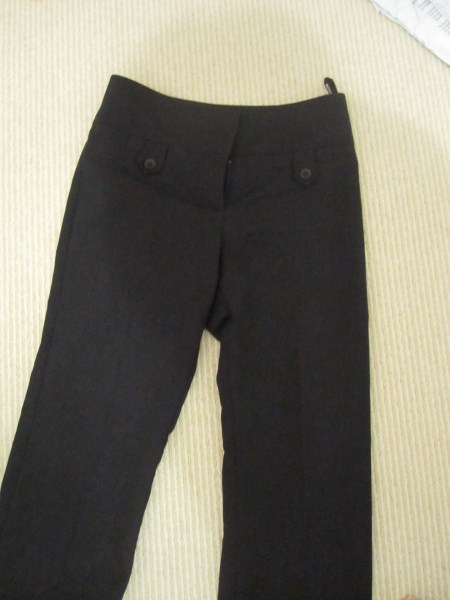
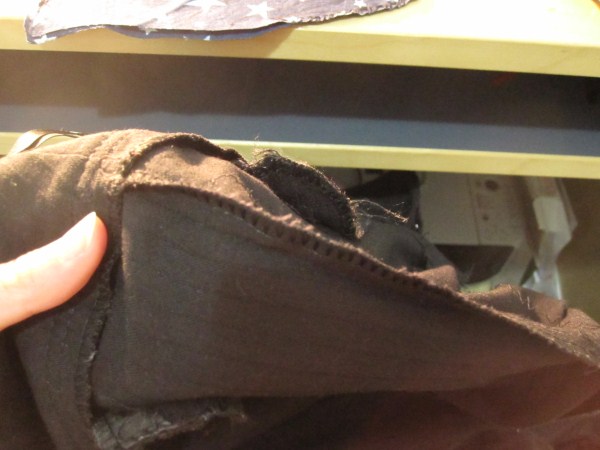
7. Carefully cut the seam at where you want your pocket to be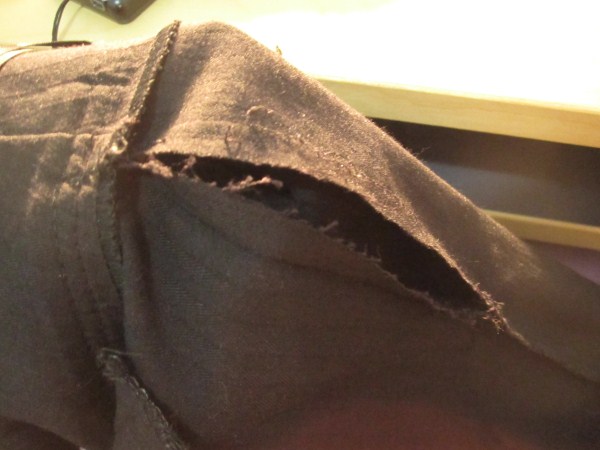
8. Sew the two edges of the pocket to the hole you’ve just made, make sure the seams are firm enough, you never know what you’ll need to put in your pocket 
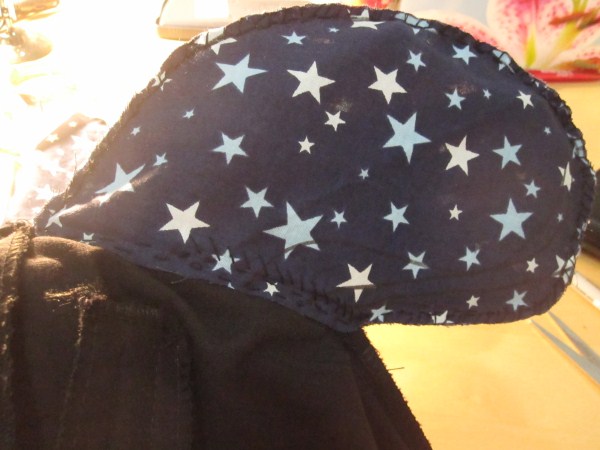
9. Repeat the steps with the other side of the pants. And tadaaa, now you’ve brought you pants into a whole new level of usefulness 